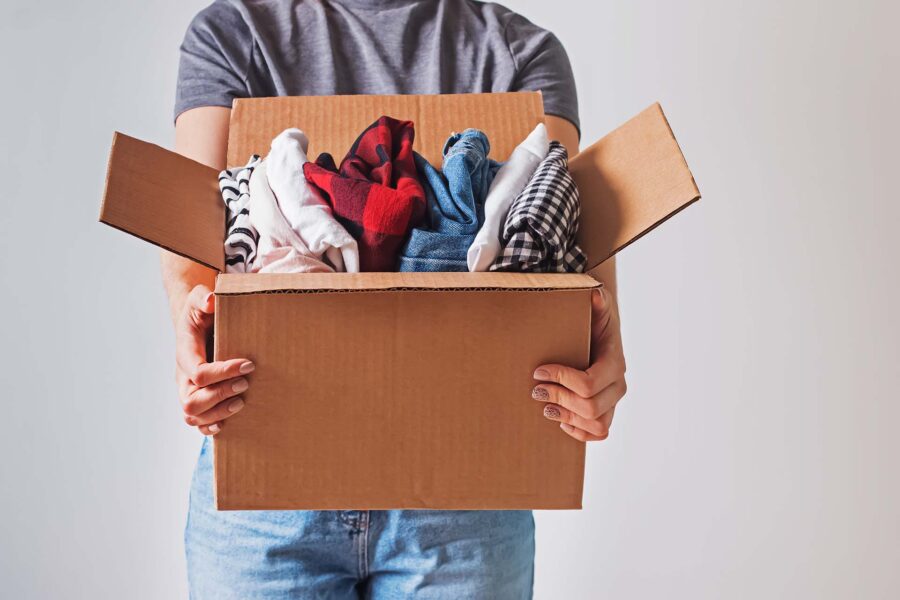
You finally made it. The moving truck is parked in the driveway, the keys to your new home are in your hand, and even though your legs are aching, you’re absolutely buzzing with excitement, all you want is a hot shower, a clean pair of pajamas, and maybe a quiet cup of tea before bed, until you open the front door and your excitement smacks straight into a wall of identical brown cardboard boxes, all sealed with the same beige packing tape, all looking exactly the same.
You start ripping them open, asking where the towels are, where the kettle is, where anyone packed the bedsheets, and an hour later you’re sitting on the floor surrounded by torn cardboard, holiday decorations, and somebody’s college yearbook, still no closer to that hot shower. This is what happens when moving box labeling goes wrong, because a bad labeling strategy doesn’t just create a little inconvenience, it quietly steals the joy out of your first days in your new home and stretches a two-day unpack into a week-long ordeal. Whether you’re moving out of a one-bedroom in San Diego or a five-bedroom estate in the Bay Area, learning how to label your moving boxes properly is one of the smartest things you can do for yourself. Let’s walk through the most common box labeling mistakes and exactly how to fix them.
Mistake #1: The Vague “Room” Label
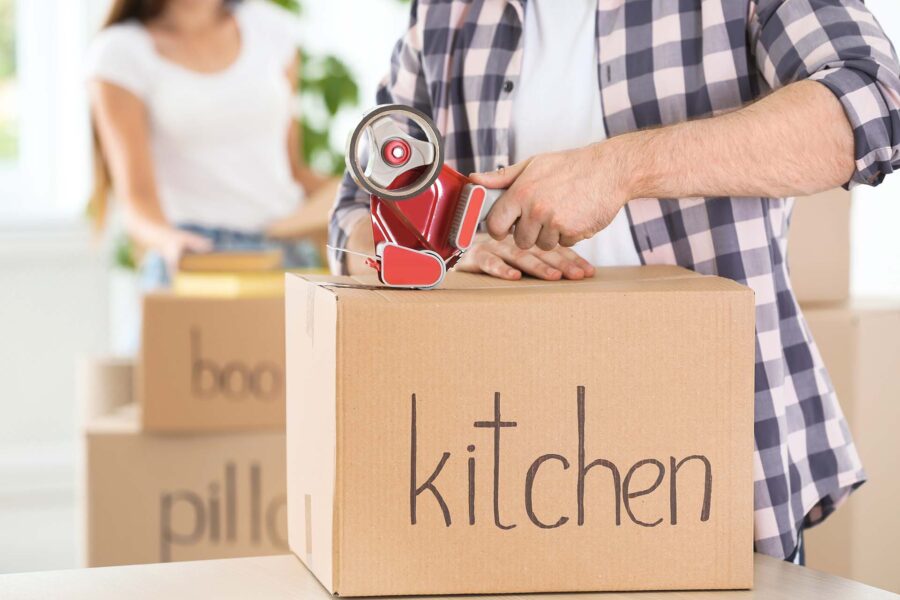
We’ve all done it. You’re tired, the tape gun is loud, and you just want to seal the box and move on. So you grab a black marker and write one word: “Kitchen.” Done.
It makes total sense in the moment. But then move-in day arrives, and suddenly you have fifteen identical boxes lined up in the new dining area, every single one labeled “Kitchen.” Which one has the heavy cast-iron pan you need to make dinner? Which one has the coffee maker you’ll need within nine hours? Which one is the box you actually want to open first? You have no idea, and now you’re playing a frustrating game of cardboard roulette.
The Fix: Treat Your Move Like a Real Inventory
The trick is to label your boxes the way a warehouse would, with enough detail that you (and your movers) instantly know what’s inside.
- Be specific. Instead of “Kitchen,” write something like: “Kitchen: Coffee Maker, Mugs, Everyday Silverware.” That tiny extra effort saves real time.
- Number every single box. Box 1, Box 2, Box 3, and so on. Keep a master list in a notebook or, even better, a note on your phone where you can search by item later.
- Mark your priority boxes clearly. The boxes you need within the first 24 hours (toiletries, bedding, phone chargers, the coffee setup) deserve a bold “OPEN FIRST” label. This is what professional movers call the Box Zero method, and it’s a game-changer for your first night.
Mistake #2: Writing the Label Only on the Top of the Box
When you’re packing on your living room floor, writing on the top of the box just feels natural. You seal the flaps, write the contents on the surface in front of you, slide the box aside, and grab the next one. Easy.
The problem shows up the moment those boxes go into the truck. Long-distance movers stack boxes high to make every square foot of trailer space count, which is exactly what you want. But once your boxes are stacked four or five high, every single label written only on the top is now invisible. To check what’s in the box at the bottom, somebody has to lift and shift the entire tower above it. Multiply that by a hundred boxes and you’ve just lost an entire afternoon.
The Fix: The Multi-Side Labeling Rule
The rule is simple: a box should never leave your old house labeled on only one surface.
- Label at least three sides. Write the destination room and the contents on two adjacent sides, plus the top. That way, no matter how the box is stacked or turned, you can read it.
- Use big, bold lettering. A label you have to squint at is a label you’ll ignore. Make sure the writing is large enough to read from across the room.
- Pick one spot and stick to it. Always place the label in the upper right corner of the side panel. Once everyone knows where to look, scanning a stack of boxes takes seconds instead of minutes.
Storage Services
Looking for storage space while you get settled? California-Seattle Express provides 30 days free storage with your move.
Car Shipping Services
We can ship your vehicles using the best freight options available. Your car will be moved safely and securely and arrive as planned.
Packing Services
Our professional packers have methods and techniques to ensure all your items are intact during and after the move.
Mistake #3: Skipping the Color-Coded System
Imagine your mover walking into your new home carrying a 50-pound box. The label reads “Bedroom.” Fine. Except your new place has a master bedroom, a guest room, and two kids’ rooms. So the mover sets the box down, finds you, and asks: “Which bedroom?” Now picture that same conversation happening forty more times throughout the day. Your stress goes up, the move slows down, and what should’ve been a two-hour unload turns into half a day.
Here’s the thing: text takes time to read. Colors register instantly. Even a tired mover carrying their hundredth box can spot a green sticker from ten feet away.
The Fix: A Simple Color-Coded System
Color-coding is the single biggest upgrade you can make to your labeling system, and it costs almost nothing.
- Assign one color per room. Blue for the master bedroom, green for the kitchen, yellow for the living room, pink for the nursery, orange for the garage. Whatever makes sense to you.
- Use colored packing tape or large colored stickers. Apply them on multiple sides of every box so the color is visible from any angle.
- Mark the destination rooms, too. When you arrive at your new home, tape a matching colored sheet of paper on each door frame. From that point on, the movers don’t have to ask a single question. They just match the color on the box to the color on the door, and your house unpacks itself in record time.
- To help you get started, here is a quick reference guide you can use to organize your color-coding system immediately:
| Room Destination | Assigned Color | Recommended Items to Pack Together |
|---|---|---|
| Master Bedroom | Blue | Bedding, pillows, immediate wardrobe, window curtains |
| Kitchen | Green | Coffee maker, daily dishes, pots, pans, pantry staples |
| Living Room | Yellow | TV cables, remote controls, soundbar, throw pillows, rugs |
| Nursery / Kids Room | Pink | Favorite toys, nightlight, diapers, blankets, bedtime books |
| Home Office | Purple | Laptop, router, power strips, critical work documents |
| Garage / Storage | Orange | Basic tools, outdoor gear, holiday decorations |
| ESSENTIALS (BOX ZERO) | Red | Open First! Toiletries, pajamas, chargers, first-aid kit |
Bonus Tips That Make a Real Difference
A few extra habits can take your labeling game from solid to genuinely impressive:
- Take a photo of each box’s contents before sealing it. A quick phone snap saves you from having to open boxes just to remember what’s inside.
- Add an arrow with “THIS SIDE UP” on anything fragile or top-heavy. Lamps, framed art, anything with glass.
- Group your highest-priority boxes together during loading so they come off the truck first.
- Pack one “Day One” essentials box per family member. Pajamas, a change of clothes, toothbrush, charger, and one comfort item per person. You’ll thank yourself.
- Don’t be shy with the FRAGILE tape. If it could break, mark it on every side. Your movers will appreciate the heads-up, and your grandmother’s china will too.
Why Professional Movers Make All of This Easier
Let’s be honest. Even with the cleanest labeling system in the world, packing is exhausting. Wrapping fragile items one by one, assembling heavy-duty boxes, hauling them out to the curb, this is real physical work that takes days, sometimes weeks, of your life.
This is exactly where a professional long-distance moving team earns its keep. When you book a full-service move with California-Seattle Express, you’re not just renting a truck. You’re getting an experienced crew that arrives with their own high-quality packing materials, uses a standardized labeling and inventory system, and treats your belongings the way they’d treat their own. We run a direct-carrier service from California to the Pacific Northwest, no brokers, no truck transfers, and no surprise fees at the end. The flat-rate quote you receive is the exact price you pay, and your belongings stay on one truck from your front door in Los Angeles, San Francisco, or San Diego all the way to your new home in Seattle, Bellevue, Tacoma, or beyond.
Add in our professional packing services, and the labeling chaos described above simply doesn’t happen to you. The boxes are packed correctly, labeled correctly, loaded correctly, and unloaded into the right rooms at the other end. You get to skip straight to the fun part: making the new place feel like home.
The Bottom Line: A Few Markers Now Saves You Days Later
Labeling boxes properly isn’t glamorous work, but it’s one of the highest-return habits in the entire moving process. A clear system saves you hours of digging, prevents dozens of misplaced boxes, and turns move-in day from chaos into calm. Pair smart labeling with a trusted moving partner like California-Seattle Express, and your long-distance relocation stops feeling like a mountain to climb and starts feeling like the fresh start it’s supposed to be.
Mark the boxes. Match the colors. Open the door to your new home and actually enjoy it.
FAQ
1. Should I label my boxes with a Sharpie or use printed labels?
The honest answer is to use both. A thick black permanent marker is unbeatable for writing directly on cardboard, but printed labels and colored tape give you better visibility from across a room. The best setup is a hybrid: colored tape for the room destination, plus a white sticker with a detailed contents list written in marker. Easy to see, easy to read, hard to mess up.
2. How do I label highly fragile items?
Fragile boxes deserve extra attention. Use bright red tape or “FRAGILE” stickers on all six sides of the box, including the bottom. Draw directional arrows pointing upward, and write “THIS END UP” in big letters. Your movers will thank you, and so will your wine glasses.
3. Is there a digital app you recommend for moving inventory?
Yes, and they’re genuinely useful. Apps like Sortly, MoveAdvisor, or even a simple Google Sheet make it easy to track every box you pack. Some apps even let you generate QR codes that you stick on each box, so a quick scan with your phone pulls up the entire contents list. For a multi-room move, this is one of the easiest upgrades you can make.
4. When should I start packing and labeling for a long-distance move?
Start earlier than you think. For a long-distance move, you should begin packing non-essential items at least four to six weeks before the move date. Out-of-season clothes, books, decorative pieces, garage stuff, attic stuff. Label all of it as “Low Priority” so you know there’s no rush to open these boxes once you arrive. Saving the daily essentials for the final week keeps your normal life functioning right up until moving day.
5. What's the single most important box to label clearly?
Without question, your Box Zero, the box with your first-night essentials. Toiletries, pajamas, phone chargers, basic tools, snacks, medications, and anything your kids or pets need to feel comfortable. Label it loudly, label it on every side, and keep it in your car, not in the moving truck. It’s the one box you’ll be very grateful for at the end of a long day.